How to Design a Menu Using Microsoft Word
Want to create a Restaurant Menu in Microsoft Word? This guide will help you to create beautiful restaurant menu designs in Microsoft Word without much hassle. Here, we will be mentioning two different methods to do that. Let's check out these methods now!.

How to create a Restaurant Menu in Word
Here are the methods to create a restaurant menu in Word:
- Manually create a restaurant menu from scratch.
- Search for a menu template from Word's online library to create your own restaurant menu.
Check out the detailed procedure below!
1] Manually create a Restaurant menu from scratch in Word
You can create a completely new restaurant menu from scratch in Microsoft Word. Although, it can be a bit challenging. To help you out, we are mentioning some basic steps to create a simple restaurant menu in Word. These are the steps:
- Launch Microsoft Word and create a blank document.
- Set up the document layout as per your requirement.
- Add a table to insert dishes' names and respective prices.
- Configure cell margins.
- Remove border from the table.
- Add logo and restaurant name to the title of the document.
- Add a table for restaurant details at the bottom.
- Save or Print the restaurant menu.
Let us check out these steps in detail now!
Firstly, open the Word application and create a blank document. You now have to set up the document layout according to your requirement and specification. For example, you can change document orientation to landscape or portrait, set up margins, etc.
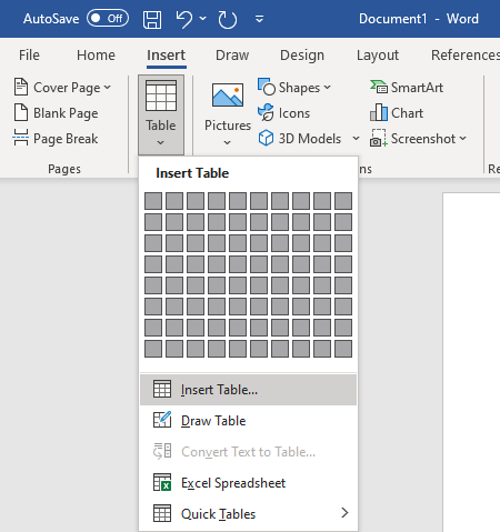
Now, you need to enter a table that will contain the main food menu of your restaurant. Go to the Insert menu and click on the Table drop-down option and tap on the Insert Table option.
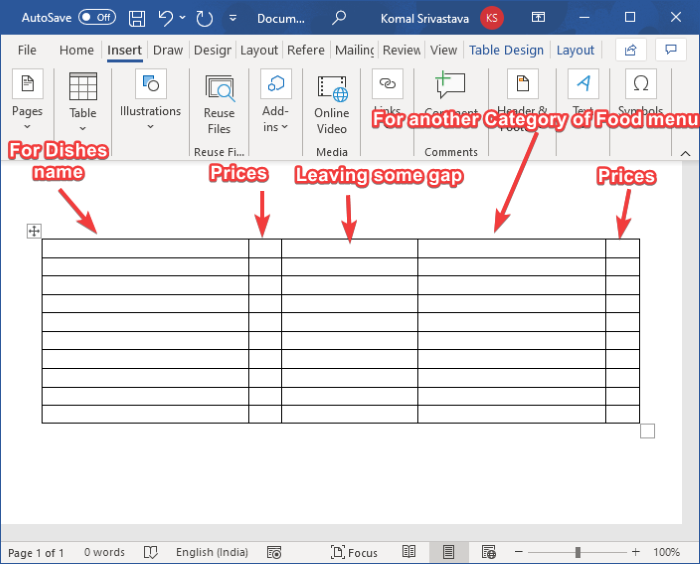
You have to insert the number of rows and columns according to the number of items you want to display on one page of a restaurant menu. For example, if you want to display two different kinds of cuisines with 4 different dishes in each, you can enter a table of size "4×5". Extra columns and rows are added to leave gaps between the columns and to add menu categories, respectively. In this manner, you can choose the correct size of the table.
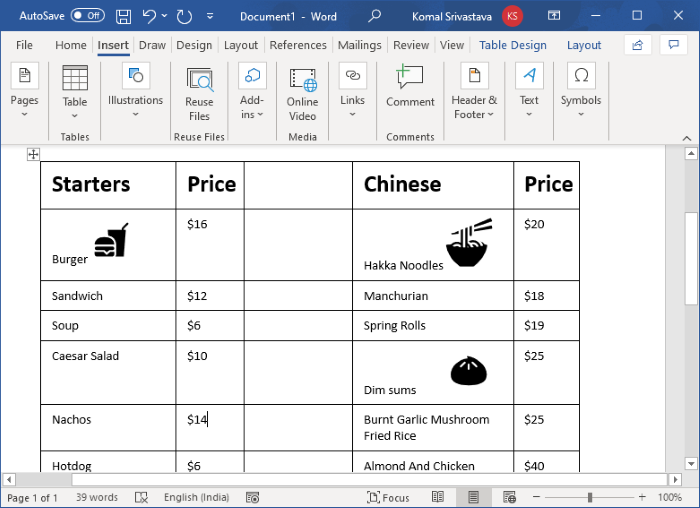
Now, name the first column as Category name (e.g., Starter, Cuisine Name, etc.), then name the next column as Price. Leave the third column to leave some gap between two categories of the menu. Then, again write the category name and price. See the below screenshot for your reference.
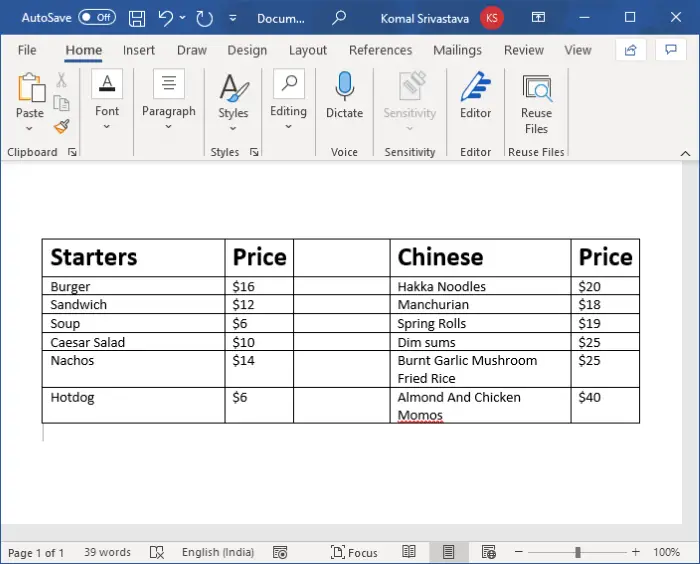
After that, enter the dishes' names and respective prices in the rows. Your document will look something like the one shown in the below screenshot.
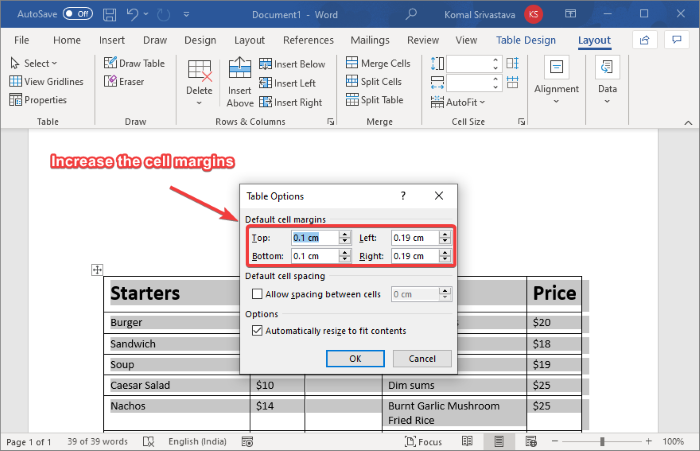
Next, you have to enlarge the cell margin so that the menu items don't overlap and appear clearly in the final menu design. For that, select the table and go to the Layout tab. From the Alignment section, click on the Cell Margin option and then increase the top, bottom, left, and right cell margins.
You can also add related icons to the dishes by using the built-in icon library, or you can import custom images too. Simply go to the Insert tab and click on the Icon option to browse and import related food icons.
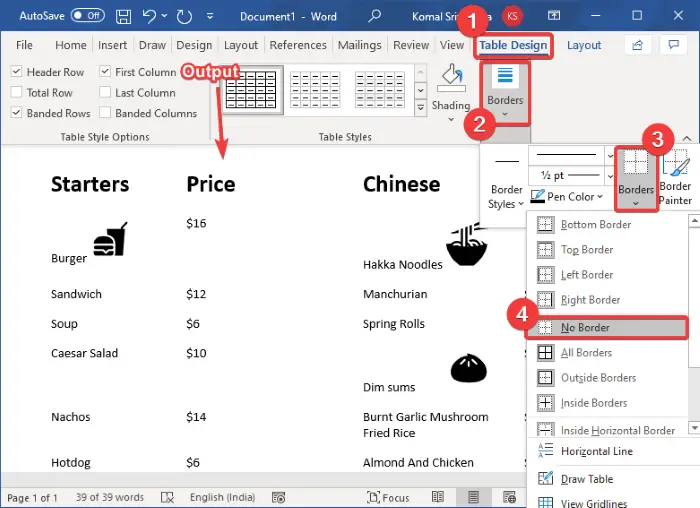
Now, select the whole table and go to the Table Design tab. Then, click on the Borders drop-down button, and from the borders, select the No Border option.
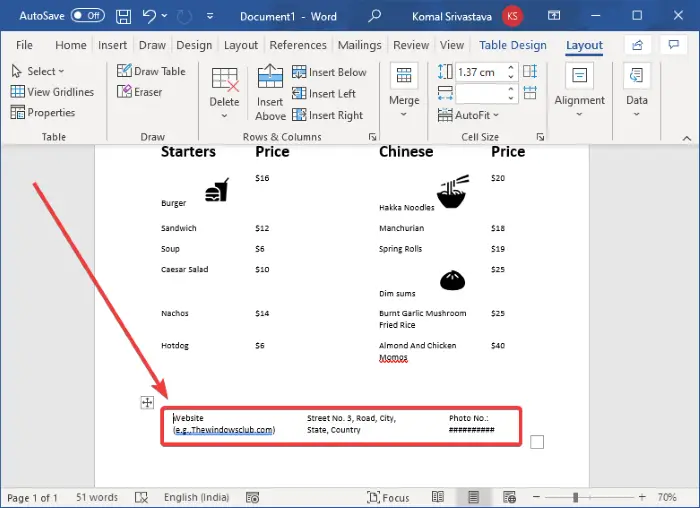
To enter some basic details about the restaurant, insert a table with multiple columns but 1 row. Move this table to the bottom of the page and enter the website, phone number, address, and other details that you want to add.
After that, select the No Border option for this table by going to the Table Design tab (as mentioned in the previous step).
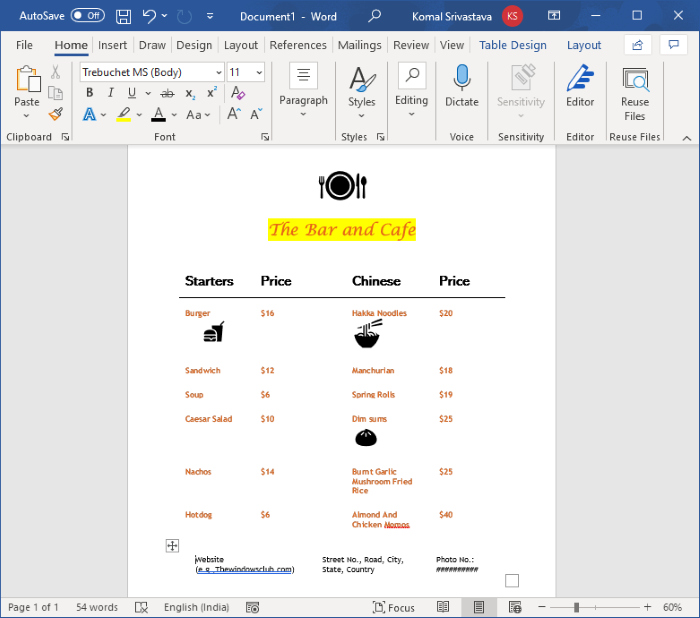
You can now add your logo image (Insert > Illustrations > Pictures) and restaurant name to the top of the menu. Use a fancy font to add the restaurant name so that it looks more appealing.

Now, customize the text and appearance as per your requirement. Word provides a lot of good styling options to do that, so you can play around to make a beautiful restaurant menu.
Finally, when you're done, you can save the restaurant menu in Word, PDF, XPS, Web Page, and other formats. And, you can also print the created restaurant menu directly on the paper.
2] Search for a menu template from Word's online library to create your own restaurant menu
You can find a lot of handy templates in Word and other Office applications to create a specific design. It also offers some restaurant menu templates that you can explore and customize. Here are the steps to use to create a restaurant menu in Word using a predesigned template:
Open Word and go to the File > New option. Type "menu" in the search box and press Enter button. You will see various restaurant templates.
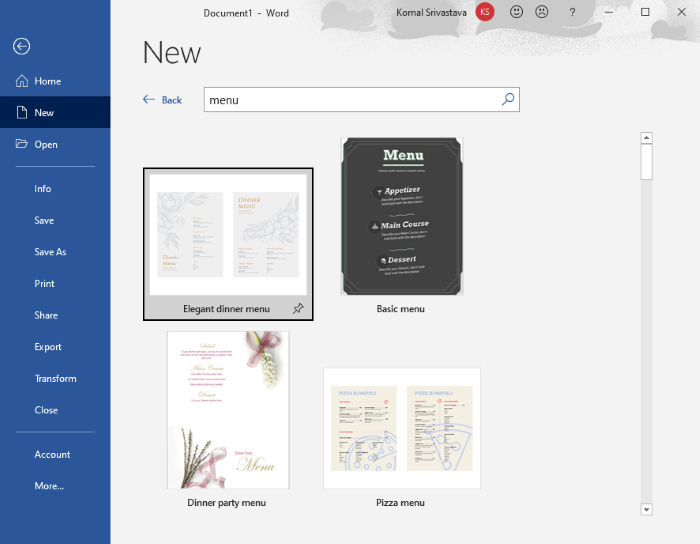
Select the one that you like and then click on the Create button to import it.
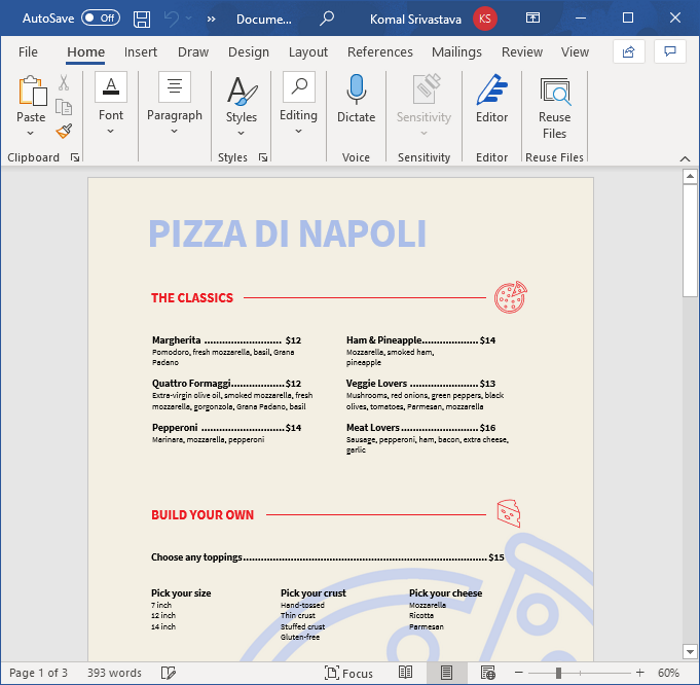
You can then customize the menu as per your requirement and when done, save or print it.
So, this is how you can create some really nice restaurant menu designs in Word.
Now read: How to create a flyer in Microsoft Word
How to Design a Menu Using Microsoft Word
Source: https://www.thewindowsclub.com/how-to-create-a-restaurant-menu-in-microsoft-word
0 Response to "How to Design a Menu Using Microsoft Word"
Mag-post ng isang Komento